Managing icons in the Javascript tag
Starting with the 3.0 version of the SDK, you can set web push icons directly from the dashboard, which is the easiest and flexible way to manage your icons.
However, the option of setting icons in the Javascript configuration tag is still possible if you're using a lower version of the SDK.
If you are using a version of the SDK above 3.0 and have icons uploaded to the dashboard and set in the Javascript configuration tag, the icons set in the tag will have the priority on the icons uploaded to the dashboard, for all browsers except Safari.
You will need to add the following parameters to the setup object.
defaultIcon: 'https://secure.url.to.your.icon.png', // TODO 🔶: Update to use your own defaultIcon, see required format here https://doc.batch.com/web/sdk-integration/initial-setup#default-icon
smallIcon: 'https://secure.url.to.your.icon.png', // TODO 🔶: Update to use your own smallIcon, see required format here https://doc.batch.com/web/sdk-integration/initial-setup#default-icon
Icons format
Default Icon
Configuration key: defaultIcon (optional).
Should be a square image (JPG or PNG), with an recommended size of 192x192 pixels. You can go as low as 80x80, but making it too big or too small will result in a pixellated display. It can contain color and be of any shape you want. If you don't specify it, Chrome users will see a white square instead of what could have been your logo.
Small Icon
Configuration key: smallIcon (optional).
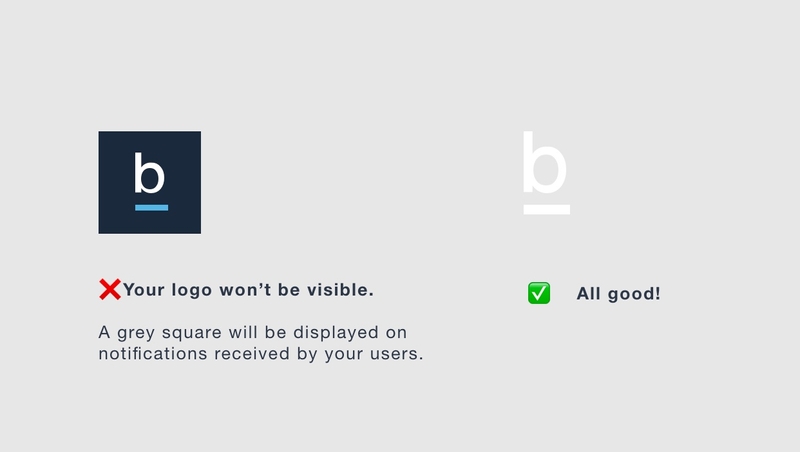
This is the icon your users will see on their Android devices when they receive a push notification.
It has a recommended size of 96x96 pixels, and will act as a mask, meaning that it will only use the alpha channel of your image and will color the resulting shape. If you don't specify it, users will see the Chrome logo instead of your website logo. You can easily create one using the Android Assets Studio. As of writing, Firefox does not support this feature.
